


PS: the demo built in this tutorial is outdated already. I will soon write an updated tutorial/demo and link here when it is ready. Thank you!
Slack is an American cloud-based set of proprietary team collaboration software tools and online services developed by Slack Technologies. Slack is a workspace where teams can communicate and collaborate. Teamwork in Slack happens in channels — a single place for messaging, tools, and files.

One of the awesome features of Slack is Slack Apps, integrations, and Slack Bots.
A Slack bot is a type of Slack App designed to interact with users via conversation. Your bot can send DMs, it can be mentioned by users, it can post messages or upload files, and it can be invited to channels. Cool right? If you use Slack already, you should be familiar with some creative Slack bots like Standupbot, Birthdaybot, and more.
In this article, I'll walk you through building your first Slack bot from start to finish with Node.js and SlackBots.js.
SlackBot Description
We're going to build a simple Slackbot that displays random inspiring techie quotes and jokes for developers/designers. I built a chrome extension before now that displays random inspiring techie quotes for developers/designers on your new tab (you can download it here), we'll be using the quotes JSON from this extension as our quotes API and Chuck Norris Jokes API for the jokes.
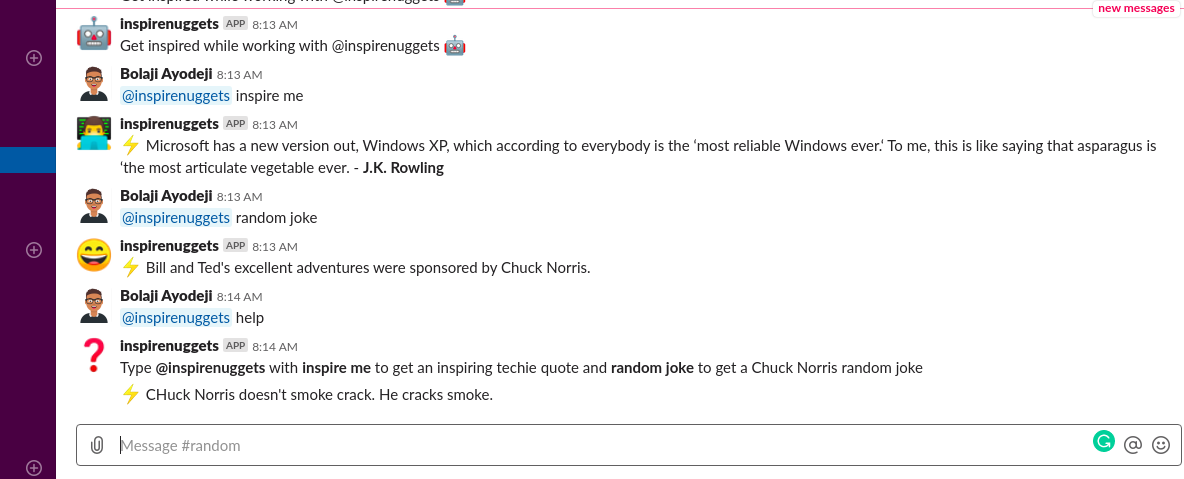
When a user mentions our bot and adds inspire me, the bot returns a random quote from inspireNuggets, when the user types random joke, it returns a random joke from Chuck Norris API and when the user types help, it returns the instruction guide.
@inspirenuggets inspire me
@inspirenuggets random joke
@inspirenuggets help
This article is not really about what we'll be building, it's just to show you the concept behind Slack bots and how to build yours, after now, you can think about something else and build a different bot, there're several possibilities.
You can clone or fork the final project here Pretty interesting right? Let's get started
Prerequisites
This bot will be built with Node.js and SlackBots.js. You don't need to know how to write Node.js, I'll walk you through it, but knowing it is an advantage.
- Basic JavaScript knowledge
- ES6 JavaScript
- Slack workspace
- Some experience with Slack
- Some version control skills
Setup environment
Let's set up and install Node.js and Npm first.
- Download node here, If you have it installed already, skip this step. If you prefer to use a package manager to install, read this for all operating systems.* Check if you have Node installed
node -v
- Node.js comes with Npm, you don't have to install that again.
npm -v
Now that we have Node.js setup, let's initialize our project
- Create your project directory (I called mine Slackbot)
- Initialize git
git init
- create an
index.jsfile
touch index.js
- Initialize Npm
npm init
Simply answer all questions that come afterward, if you're having issues, here's my own package.json
{
  "name": "slackbot",
  "version": "1.0.0",
  "description": "A simple Slackbot that displays random inspiring techie quotes for developers/designers.",
  "main": "index.js",
  "scripts": {
    "start": "index.js"
  },
  "repository": {
    "type": "git",
    "url": "git+https://github.com/BolajiAyodeji/slackbot.git"
  },
  "author": "Bolaji Ayodeji",
  "license": "MIT",
  "bugs": {
    "url": "https://github.com/BolajiAyodeji/slackbot/issues"
  },
  "homepage": "https://github.com/BolajiAyodeji/slackbot#readme"
}
Install Dependencies
Now let's install and setup all libraries we need.
SlackBots.js
SlackBots.js is a Node.js library for easy operation with Slack API.
npm install slackbots
In index.js
const SlackBot = require('slackbots');
Axios
Axios is a promise-based HTTP client for the browser and node.js. If you know Fetch or AJAX, this is just a library that does the same with far way cooler features. You can see them here
npm install axios
In index.js
const axios = require('axios')
Nodemon
To run a script in Node.js, you have to run node index.js. Whenever you make changes to this file, you have to rerun node index.js, this sucks right when you're making so many changes like we'll be doing. That's why we need nodemon, nodemon is a tool that helps develop node.js-based applications by automatically restarting the node application when file changes in the directory are detected.
npm install -g nodemon
In package.json, locate the scripts section and add a new start script
"scripts": {
    "start": "node index.js"
  }
If you run npm start, the file will run but won't restart on change. To fix this use the nodemon we installed instead of node like so:
"scripts": {
    "start": "nodemon index.js"
  }
Dotenv
I won't explain this in-depth, in a few days, I'll publish an article around environmental variables, for now just know that we use this to hide secret keys and tokens like the Slack Access Token we would be using. This way you don't have to push your secret keys to GitHub. There are several ways to do this, but I prefer using dotenv, Dotenv is a zero-dependency module that loads environment variables from a .env file into process.env.
npm install dotenv
In index.js
const dotenv = require('dotenv')
dotenv.config()
After all installation, your package.json should look like this:
{
  "name": "inspireNuggetsSlackBot",
  "version": "1.0.0",
  "description": "A simple Slackbot that displays random inspiring techie quotes and jokes for developers/designers.",
  "main": "index.js",
  "scripts": {
    "start": "nodemon index.js"
  },
  "repository": {
    "type": "git",
    "url": "git+https://github.com/BolajiAyodeji/inspireNuggetsSlackBot.git"
  },
  "author": "Bolaji Ayodeji",
  "license": "MIT",
  "bugs": {
    "url": "https://github.com/BolajiAyodeji/inspireNuggetsSlackBot/issues"
  },
  "homepage": "https://github.com/BolajiAyodeji/inspireNuggetsSlackBot#readme",
  "devDependencies": {
    "dotenv": "^8.0.0"
  },
  "dependencies": {
    "axios": "^0.19.0",
    "slackbots": "^1.2.0"
  }
}
Create your Slack workspace
Now that we have all set up, we need a Slack workspace to run our bot in development. Creating a workspace is pretty easy, read this.
Register your Slack Bot
Now that you have a workspace, you should have a Slack URL with your workspace name, mine is mekafindteam.slack.com.
- Now you'll need to create a Slack App. Create one here
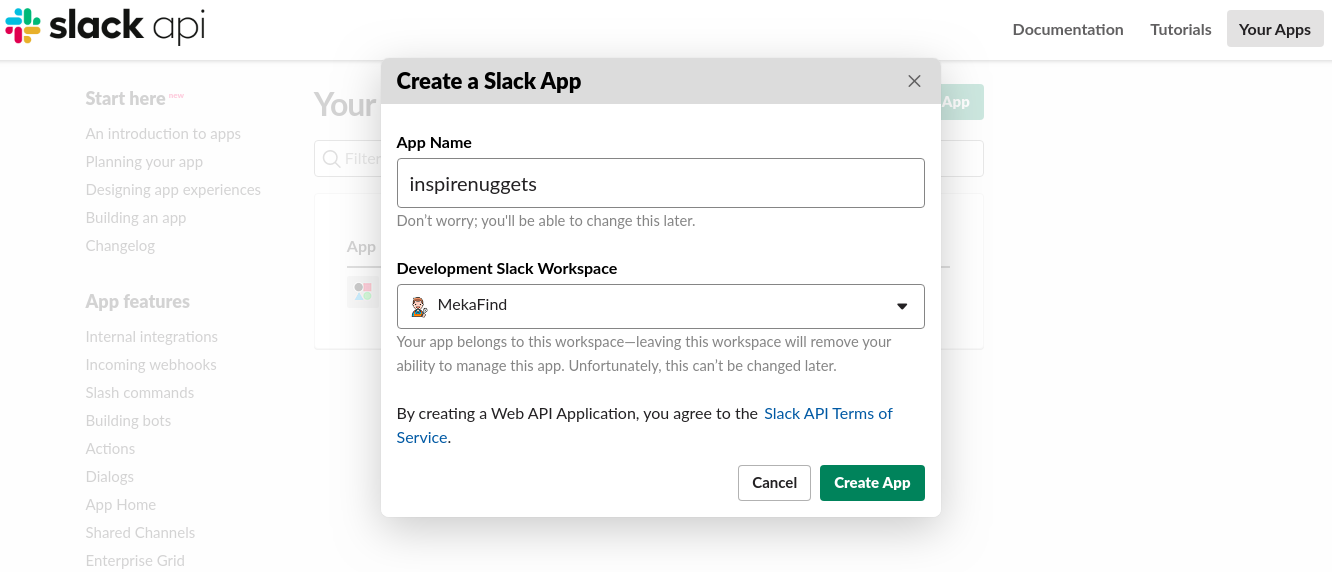
Enter your App name and ensure you're in the workspace you created if you're in multiple workspaces.
- Now you'll see the settings > Basic Information page. Click the first tab
Add features and functionality.
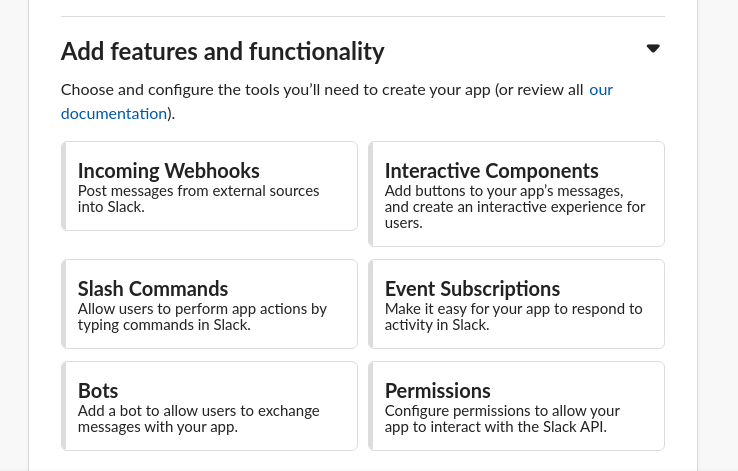
Since we're building a bot, select the Bots field.
- Now you'll see the Bot user page
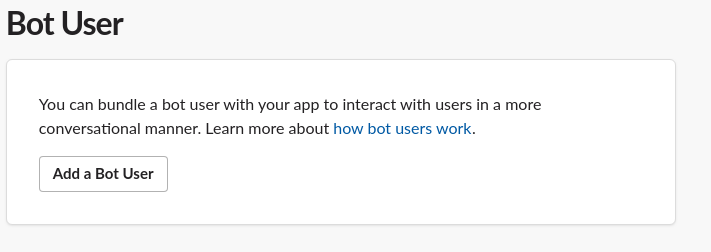
Click the Add a Bot User button
- Your display name will automatically be filled in from your already chosen App name, you can update but I'll advise you to use the same name everywhere with the same alphabet case to avoid errors.
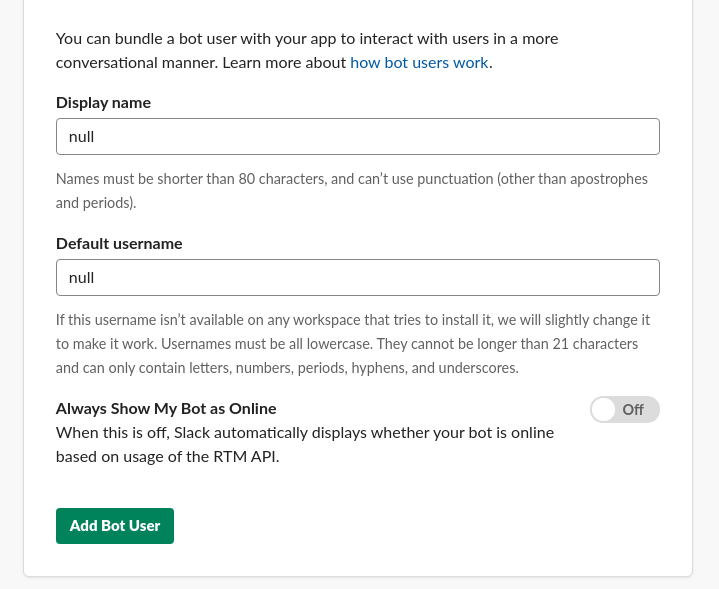
Now, toggle the Always Show My Bot as Online switch to always show your bot as Online, remember this bot is just like a user in your workspace. Afterward, click the Add Bot User button
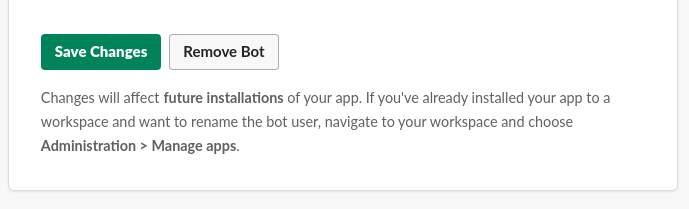
- Save all changes now
- Return to the
Basic Informationpage and select theInstall your app to your workspacetab.
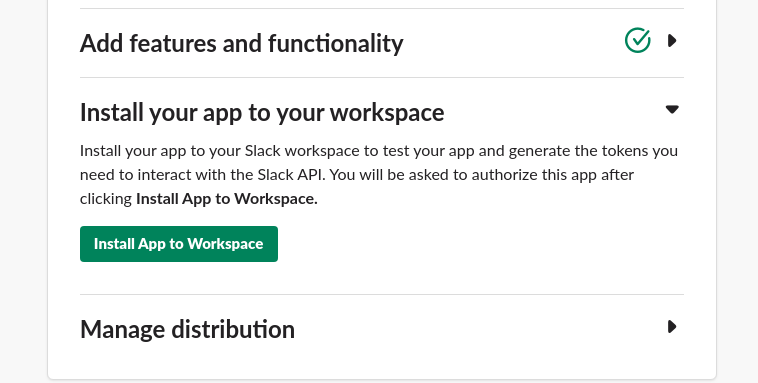
Click the Install App to Workspace
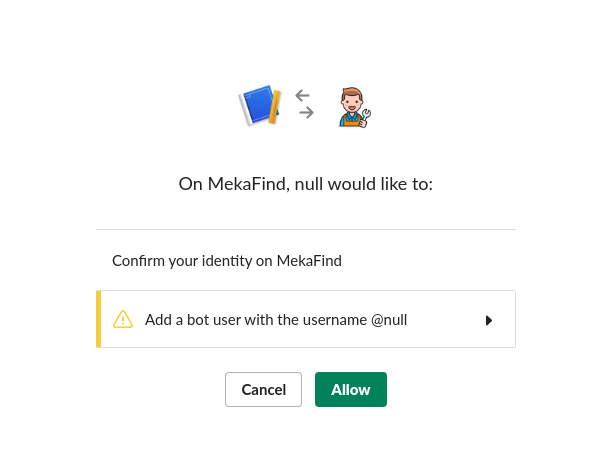
Click allow and wait to be redirected back to the Basic Information page.
Note the
Manage distributiontab, this section is needed when you want to make your Bot available for installation by others, for now, we're just building in development and I won't be covering distribution in this article, in my next article, I'll show you how to deploy your Slack bot and make it available as an App to other workspaces.
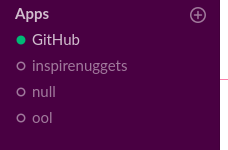
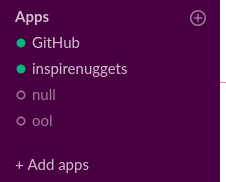
- If you check your Slack workspace now, you should see the App installed in the Apps section
For now, it's offline, once we start building the bot, we'll turn this on.
Customize your Slack bot
Now we've created our bot, let's do some customization
- Still, on the
Basic Informationpage, scroll down to theDisplay Informationsection
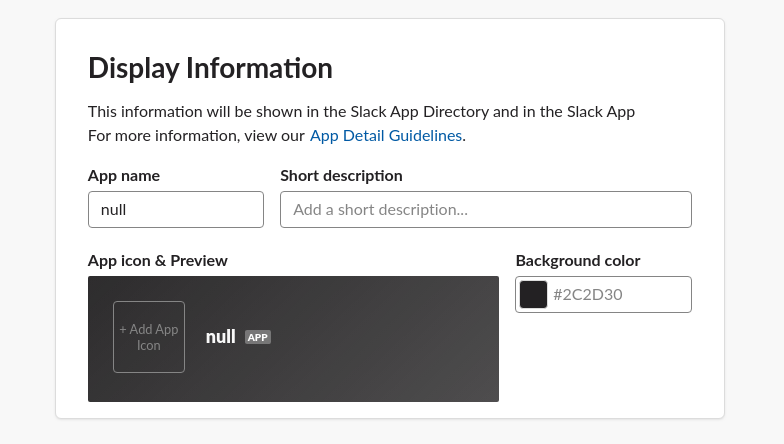
This is basic stuff, just upload a logo, change your background color and add a short description
Your icon should be
512x512pxor bigger and your background color should be in HEX. Read more on the App guidelines here
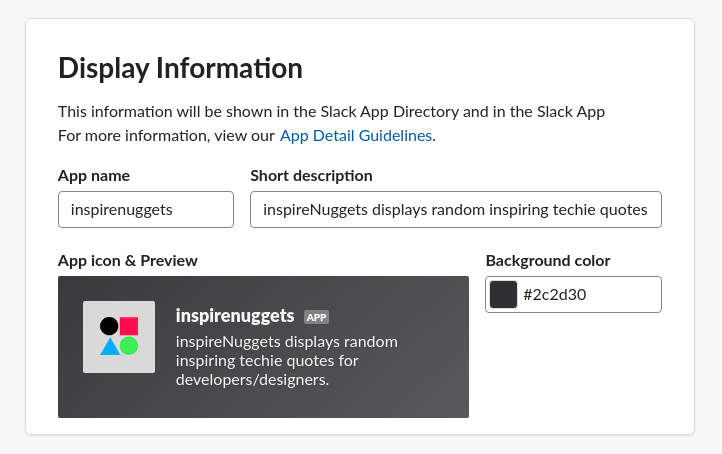
Here's what mine looks like after customization:
Slack bot OAuth Tokens
Now we have our Slack bot setup, let's grab out token keys.
- In the navigation bar, locate the Features section and click the
OAuth & Permissiontab
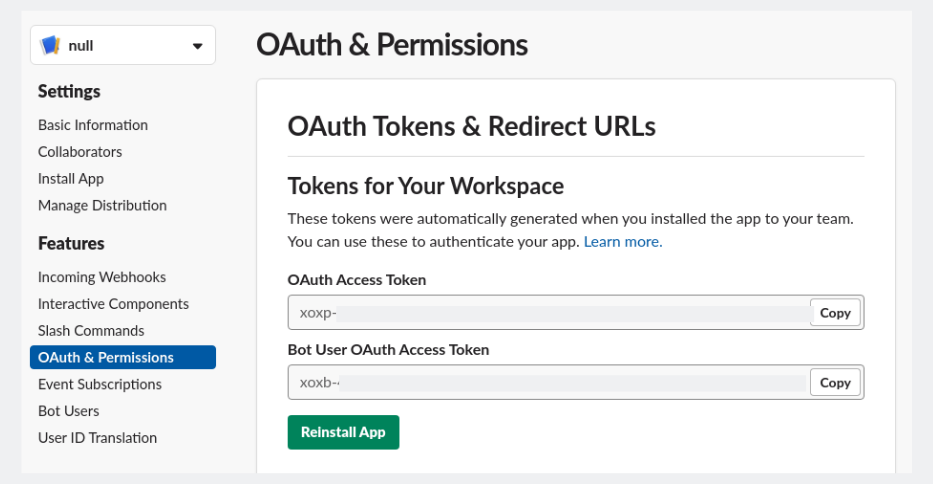
You'll see two Access Tokens
- OAuth Access Token
- Bot User OAuth Access Token
Copy the Bot User OAuth Access Token
This would change every time you Reinstall this app or when you install it in another workspace. The token should start with
xoxb->> Keeping credentials secure is important whether you're developing open source libraries and tools, internal integrations for your workspace, or Slack apps for distribution to workspaces across the world. - Slack
This is why we have installed Dotenv and we'll set that up in the next section.
Building the bot
Now let's build our bot :).
First, let's keep our Access Token somewhere.
create a .env file and add this:
BOT_TOKEN=YOUR_SLACK_ACCESS_TOKEN_HERE
- Now let's start our SlackBot.js
const bot = new SlackBot({
    token: `${process.env.BOT_TOKEN}`,
    name: 'inspirenuggets'
})
We've just created a bot variable that initializes a new SlackBot instance which has two values, our token and app name.
I used the ES6 template string syntax to bring in our token key from our
.envfile, dotenv got this covered for us.Ensure to use the same name you used while creating your Slack app else you'll have authentication errors.
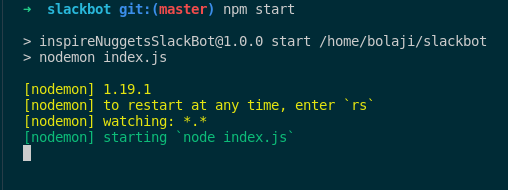
- Now start the app
npm start
nodemon should be running now and our Slack app should be online too.
Start handler
Our Bot does nothing now even though it's running, let's return a message.
bot.on('start', () => {
    const params = {
        icon_emoji: ':robot_face:'
    }

    bot.postMessageToChannel(
        'random',
        'Get inspired while working with @inspirenuggets',
        params
    );
})
The
bot.onhandler sends the welcome message. We passed two parameters, the'start'and a function which holds a params variable which also holds the slack emoji. Slack emoji have codes, you can find them here. I used:robot_face:, you can change this to your preferred emoji.We also initialized the
bot.postMessageToChannelfunction which is a SlackBot.js method to post a message to a channelIn this function, we pass the channel name we want to post to, the message in a string and the params variable we declared earlier for the emoji. I used the #random channel and sent
Get inspired while working with @inspirenuggetsto it. Your app should restart automatically and your bot should do this:

Cool right?
You can also post messages to users and groups.
    // define existing username instead of 'user_name'
    bot.postMessageToUser('user_name', 'Hello world!', params);


    // define private group instead of 'private_group', where bot exist
    bot.postMessageToGroup('private_group', 'Hello world!', params);
Error Handler
Let's also write a function to check for errors and return them:
bot.on('error', (err) => {
    console.log(err);
})
Message Handler
Now let's build the main bot functionality.
Like I said earlier, we'll be using the quotes JSON from the extension I built as our quotes API. The JSON can be found with this URL: https://raw.githubusercontent.com/BolajiAyodeji/inspireNuggets/master/src/quotes.json
When a user mentions our bot and adds inspire me, the bot returns a random quote from inspireNuggets, when the user types random joke, it returns a random joke from Chuck Norris API and when the user types help, it returns the instruction guide.
First, let's check for our command words from the user message (inspire me, random joke and help)
function handleMessage(message) {
    if(message.includes(' inspire me')) {
        inspireMe()
    } else if(message.includes(' random joke')) {
        randomJoke()
    } else if(message.includes(' help')) {
        runHelp()
    }
}
Now let's create the three function we need
- inspireMe()
Our demo JSON is not really an API, it's just some JSON I used in the Chrome Extension, we're only accessing it from GitHub raw contents, you can use any API you prefer, you'll just have to iterate differently to get your data depending if your API returns an array or object, whichever it returns, it's not a big deal. >> Check out my previous articles on:
function inspireMe() {
    axios.get('https://raw.githubusercontent.com/BolajiAyodeji/inspireNuggets/master/src/quotes.json')
      .then(res => {
            const quotes = res.data;
            const random = Math.floor(Math.random() * quotes.length);
            const quote = quotes[random].quote
            const author = quotes[random].author

            const params = {
                icon_emoji: ':male-technologist:'
            }

            bot.postMessageToChannel(
                'random',
                `:zap: ${quote} - *${author}*`,
                params
            );

      })
}
We just used Axios to get the JSON file which returns some data:
[
    {
        "number": "1",
        "author": "Von R. Glitschka",
        "quote": "The client may be king, but he's not the art director."
    },
    {
        "number": "2",
        "author": "Frank Capra",
        "quote": "A hunch is creativity trying to tell you something."
    },
.
.
.
.
]
This JSON currently contains 210 quotes and I update them frequently. So we want to get a random quote plus the author name every time the user request for it. From our Axios response, we just do this:
const quotes = res.data;
const random = Math.floor(Math.random() * quotes.length);
const quote = quotes[random].quote
const author = quotes[random].author
And just like we did with the welcome message, we just return the quote and author instead of a string message:
`:zap: ${quote} - *${author}*`
Let's test this
Type
@inspirenuggets inspire me

Yayyy! It worked!
PS: You can always change the emoji type for every request, if you noticed I changed the inspireMe() to
:male-technologist:
- randomJoke()
We're getting the jokes from Chuck Norris API from this endpoint
https://api.chucknorris.io/jokes/random.
{
"categories": [],
"created_at": "2016-05-01 10:51:41.584544",
"icon_url": "https://assets.chucknorris.host/img/avatar/chuck-norris.png",
"id": "6vUvusBeSVqdsU9C5-ZJZw",
"updated_at": "2016-05-01 10:51:41.584544",
"url": "https://api.chucknorris.io/jokes/6vUvusBeSVqdsU9C5-ZJZw",
"value": "Chuck Norris once choked a wildcat to death with his sphincter muscle."
}
This is a real API that returns a random joke on every request, so we don't have to do Math.floor() again.
function randomJoke() {
    axios.get('https://api.chucknorris.io/jokes/random')
      .then(res => {
            const joke = res.data.value;

            const params = {
                icon_emoji: ':smile:'
            }

            bot.postMessageToChannel(
                'random',
                `:zap: ${joke}`,
                params
            );

      })
}
By now, you should understand how this works already, make a post with the channel name, message and params.
- runHelp()
This is similar to our welcome message, we just want to return a custom text when the user adds help to the request.
function runHelp() {
    const params = {
        icon_emoji: ':question:'
    }

    bot.postMessageToChannel(
        'random',
        `Type *@inspirenuggets* with *inspire me* to get an inspiring techie quote, *random joke* to get a Chuck Norris random joke and *help* to get this instruction again`,
        params
    );
}
Now let's test all three commands:

Everything works fine now, congratulations!!!! you just built your SlackBot.
There is an endless number of possibilities of Bots you can build with this to automate your own work or teamwork.
You can build a bot that: fetches your tasks from somewhere and reminds you when you type hey what next, welcomes every user to your workspace (I built this during one of the HNG Internship's), gives you football matches updates while you're working, tell your team when you hit a milestone in number of registered users and many more...
It's just about having somewhere to get the data from, and some basic iteration skills and the bot.postMessageToChannel() method.
Automation is one thing we should learn as developers, we have a lot to do, we should automate the simpler one so we have time for the more tasking ones. I hope with this you can automate your tasks and I look forward to the creative ideas you'll bring to life.
Final Code
Here's our final index.js code
What Next?
Our bot only runs in development now, to use it we always have to npm start.
This isn't cool, right? We'll want to host it somewhere it can run every time. In my next article, I'll show you how to host this on either Heroku, Zeit or Netlify and publish it to the Slack Apps store so anyone around the world can use it. Also, don't forget to add this in your .gitignore before pushing to GitHub
/.env
/node_modules
Subscribe to my newsletter to get updated.